Your family has enjoyed a week of sun and sand. You arrive home and begin to unload the car. Out tumbles a plastic pail. Inside is a collection of seashells, still covered in sand and smelling faintly of saltwater. Although seashells are beautiful on their own, it’s not usually practical to keep a bucket full of them sitting around your house.
The good news is: There are a lot of ways to use those seashells!
When it comes to seashells, there are so many great ways to use them! And it doesn’t take a lot of time or money to get creative. We think you’ll have so much fun using them to create artwork, decor, gifts and more that when you head back to the beach next summer, you’ll take along an extra pail specifically to fill with shells!
There’s something inherently relaxing about the beach. Family beach activities make us happy, and the memories of summer vacation often get us through cold winters. When you decorate with seashells, you’ll be able to look back fondly on your family vacation all year long. When you use the things you’ve made as gifts, it’s like you’re sharing that precious memory with someone else.
The other excellent thing about using seashells you’ve discovered at one of your family beach vacation spots is that they are an inexpensive way to decorate. If you’re using shells you found at the beach, they don’t cost anything, and the few supplies you’ll need to display them won’t break the bank either.
We also love shells because it doesn’t take a lot of work to make them look beautiful. Seashell trinkets and decor are a fun project for anyone who doesn’t consider themselves “crafty,” because it doesn’t take a lot of talent to make beautiful items with them.
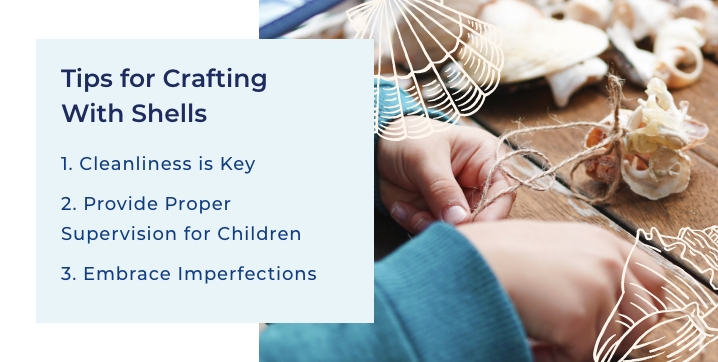
Before you get started, there are a few things to know about crafting with shells.
Before you do anything with your shells, thoroughly wash and dry them. Stray particles of sand or a few drops of water can make all the difference between success and failure when it comes to these projects.
Many of the shell crafts listed below are family-friendly. However, make sure to keep a close eye on your children throughout the process. Never allow young children to handle a drill or maximum-strength epoxy without adult supervision. Make sure to read through the directions and identify any adult-only parts of the process.
The beauty of shells is that each one has slightly different shades, designs and markings. It’s tempting to create patterns and uniform designs for some of these projects, but let go of the urge for perfection and embrace the random, natural look seashells bring to any craft.
Now that you’re excited about creating shell decor and mementos, it’s time to get down to business. You could check out Pinterest or other websites for ideas, or you can check out our top 10 favorite ways to incorporate seashells into gifts and home decor.
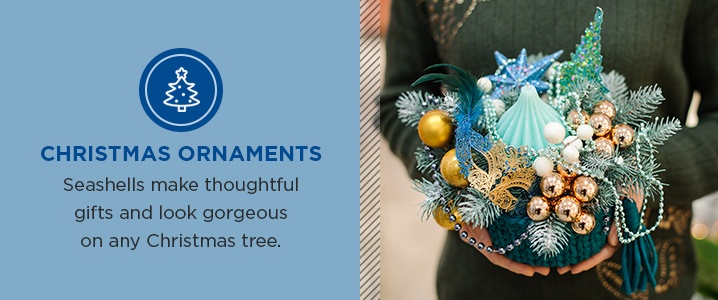
Supplies needed: Shells, craft glue, small paintbrush, fine glitter in a variety of colors, ribbon, drill with a 1/16″ bit, faux pearls or other beads
Seashells make thoughtful gifts and look gorgeous on any Christmas tree. Plus, they’re simple to decorate. You may start out making these delicate ornaments for friends, but don’t be surprised if you decide to keep a few for yourself.
Note: If you’re painting a spiral shell, skip the drill and use a hot glue gun to glue the ribbon in place. Drilling a spiral shell could cause it to break.
Supplies needed: One — or more — shells, strings of white lights, epoxy
These lights are simple to make, but add a festive touch to an outdoor living space.
Note: It’s best to work in two-foot sections, allowing each section to dry for five minutes before continuing. Allow the strand plenty of time to dry before hanging it up.
Supplies needed: Assorted shells, clean sand, clear bottles or jars of various sizes, stickers or glass pen markers to label jars
You’ll always remember your family’s trip to the beach with these memory jars.
Note: You can make one large memory jar for your whole family, or you can opt to make smaller jars and gift them to each person who joined you on the trip. These make a thoughtful and unexpected gift around the holidays, when many people are the most nostalgic for the sun and sand of their summer vacation.
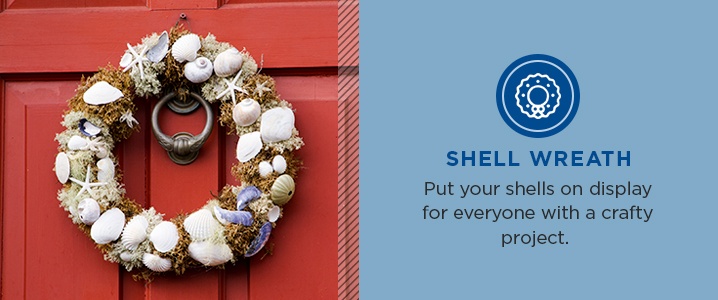
Supplies needed: Shells, foam wreath form, hot glue gun
Put your shells on display for everyone with this crafty project. Use the hot glue gun to place a small amount of glue on each shell and fill out the wreath form. You can follow a specific pattern, or glue them randomly into place.
Note: One the glue has set, you can add a colorful decorative ribbon to finish the wreath.
Supplies needed: Shells, paraffin or old pieces of a candle, candlewick
Form meets function in these seashell candles. Use them as part of a centerpiece or holiday gifts for co-workers.
Note: This project will only work with larger shells, since you’ll need enough wax for the wick to stay up and burn.
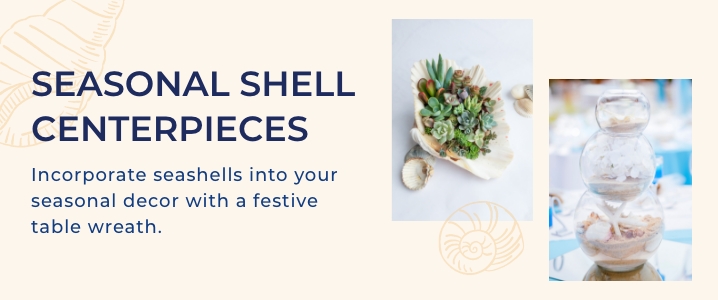
Supplies needed: Shells, hot glue gun, votive candles, evergreen wreaths
Incorporate seashells into your seasonal decor with a festive table wreath.
Note: Once the centerpiece is ready for display, place a hurricane with a candle in the center for some extra glam. You can select a seasonal color for the candle or opt for the ever-classy white.
Supplies needed: Shells, maximum-strength epoxy, flat drawer pulls
If you’re looking for a more prominent way to display the shells you collected at the beach, this is a great option.
Note: For this project, you’ll want to select shells that are relatively flat so they can easily rest on the epoxy. Also, make sure to use shells that are at least as large as the drawer pulls you choose, so they’ll cover the handles.
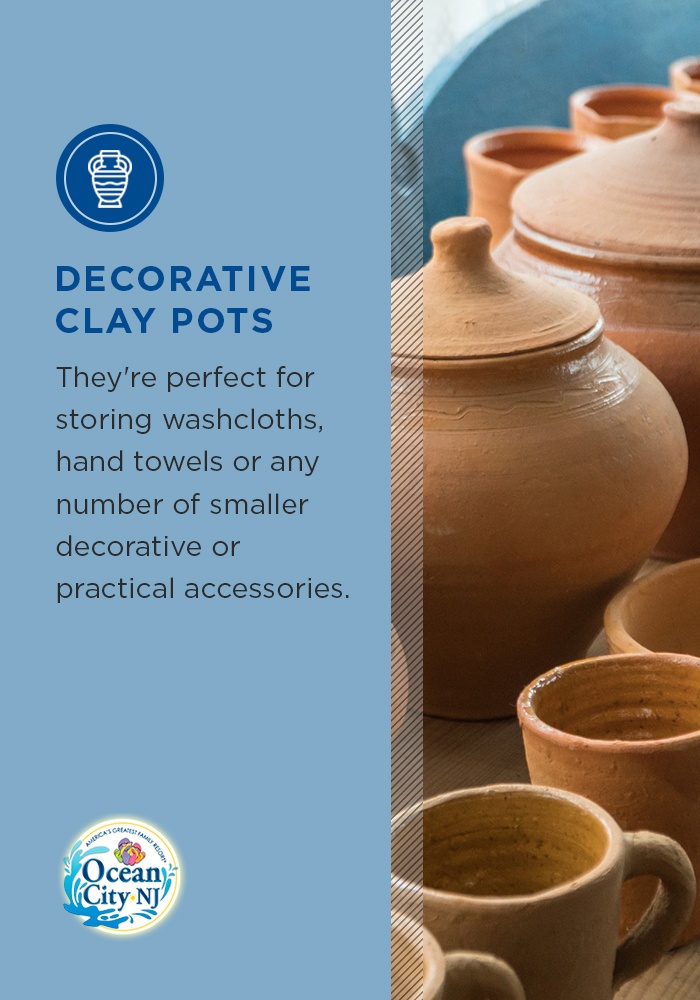
Supplies needed: Shells, small or medium-sized clay pots, paint, maximum-strength epoxy
These adorable clay pots make a charming addition to a powder room or kitchen space. They’re perfect for storing washcloths, hand towels or any number of smaller decorative or practical accessories. And, they make an inexpensive gift option for teachers, co-workers or friends who love the sea.
Note: For a little extra pizzazz, brush the shells with a thin layer of pearl acrylic paint. Doing so will give them an extra shine that takes this project from good to great.
Supplies needed: Shells, baking sheet, oven, crayons of various colors
If you’re looking for a kid-friendly seashell craft, this one is ideal because it’s simple and attention-grabbing.
Note: This craft is kid-friendly, but you should only do it with children who are old enough to understand that they cannot directly touch the hot shells. Use caution when attempting this with younger children.
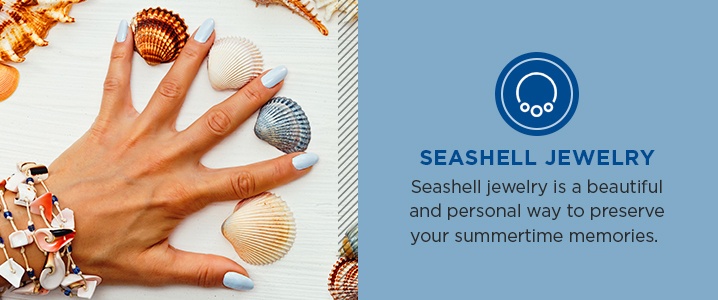
Supplies needed: Small-to-medium-sized shells, 18′ — or longer — chain, 10mm jump rings, rotary tool or drill with a 1/16″ drill bit, needle-nosed pliers
Seashell jewelry is a beautiful and personal way to preserve your summertime memories. And it’s a unique way to dress up your outfit, whether you’re heading to work or out to lunch with friends.
Note: Although the jump ring does add an extra step, it’s a great addition to your seashell necklace because it makes it easier to add other charms around your shell for a little extra bling.
There are so many unique and special ways to use the seashells you collect during your family trips to the beach. But don’t stop making memories! When it comes to top family beach destinations, there’s nowhere like Ocean City, NJ. As “America’s Greatest Family Resort,” Ocean City, NJ activities and beaches are the perfect choice for family vacations.
It’s never too early to start planning your next family vacation. Visit us online for a comprehensive guide to this beloved New Jersey seaside destination.